Since moving to LA I’ve been spending more time with my kettlebells because it feels so natural to train with them outdoors, and if you know me, I’m all about taking my workouts outside. There are a number of exercises I turn to when I’m through rehabbing an injury and want to strengthen my whole body so that it functions better. In my current case it’s my right shoulder that’s been feeling weak and my left ankle, which still is not a stable as my left. This is why I love the Turkish Get Up. It’s a great tool to gauge where I am (or a client is) with a recovery and has a number of amazing benefits.
- It improves mobility throughout the whole body thus reducing general daily aches and pains
- It improves stability of the shoulders in particular, which is key to keeping that joint strong and healthy.
- It challenges coordination.
- It works the deep abdominal muscles therefore strengthening your core from the inside out.
Once you’ve perfected the get up with a light weight it’s so rewarding you’ll want to see if you can perform with more weight next time.
The Turkish get up in is entirety is not a beginner exercise, but just about anyone can start with steps one and two and progress from there. You will see Get Ups also being performed with dumbbells and barbells, even sand bags! I prefer the KB because with the weight of the KB in hand, straight up over the shoulder, you will notice that the weight bears straight down over the shoulder as opposed to being spread out over a larger area as with a dumbbell or barbell making it harder to control. If you don’t have a KB I suggest starting with a dumbbell, you can even benefit from performing the exercise with no weight at all. You could hold onto a can of refried beans that have been sitting in your cupboards for months. -:)
The Turkish get up is not easy to perform. It can take weeks to just get from the ground to standing with proper form. Don’t give up. I can guarantee you will feel great and the reward for sticking with it will pay off. Please let me know how you are progressing.
Watch my tutorial video then follow the step-by-step photo instructions.
[embed]https://youtu.be/wBKypIUh-Yg[/embed]
Here are the steps of the Get Up broken down. I’m stating the steps with the KB in the right hand since most people are right hand dominant. After completing the exercise on the right move over to the left. Continue switching sides. At the point where you think you could take on more weight, don’t. Instead progress during your next workout by completing all planned reps on one side then switch.
For surface area do not use a mat, rather choose grass or gym flooring. Wood can be slippery from moisture so do not recommend that either. I prefer to go barefoot so the muscles in my feet assist me, leaving that up to you, but consider going barefoot if you are having a hard time transitioning between steps.
Lie on back with KB next to your right shoulder. Lift KB over R shoulder with arm straight and plant R foot on ground

Engage your abs, plant L elbow on ground about 2 inches away from your L hip. Use your R foot to assist in bringing your torso upright rolling from L elbow onto L hand. Keep eyes on the KB making sure the arm is still straight and extended over the R shoulder.
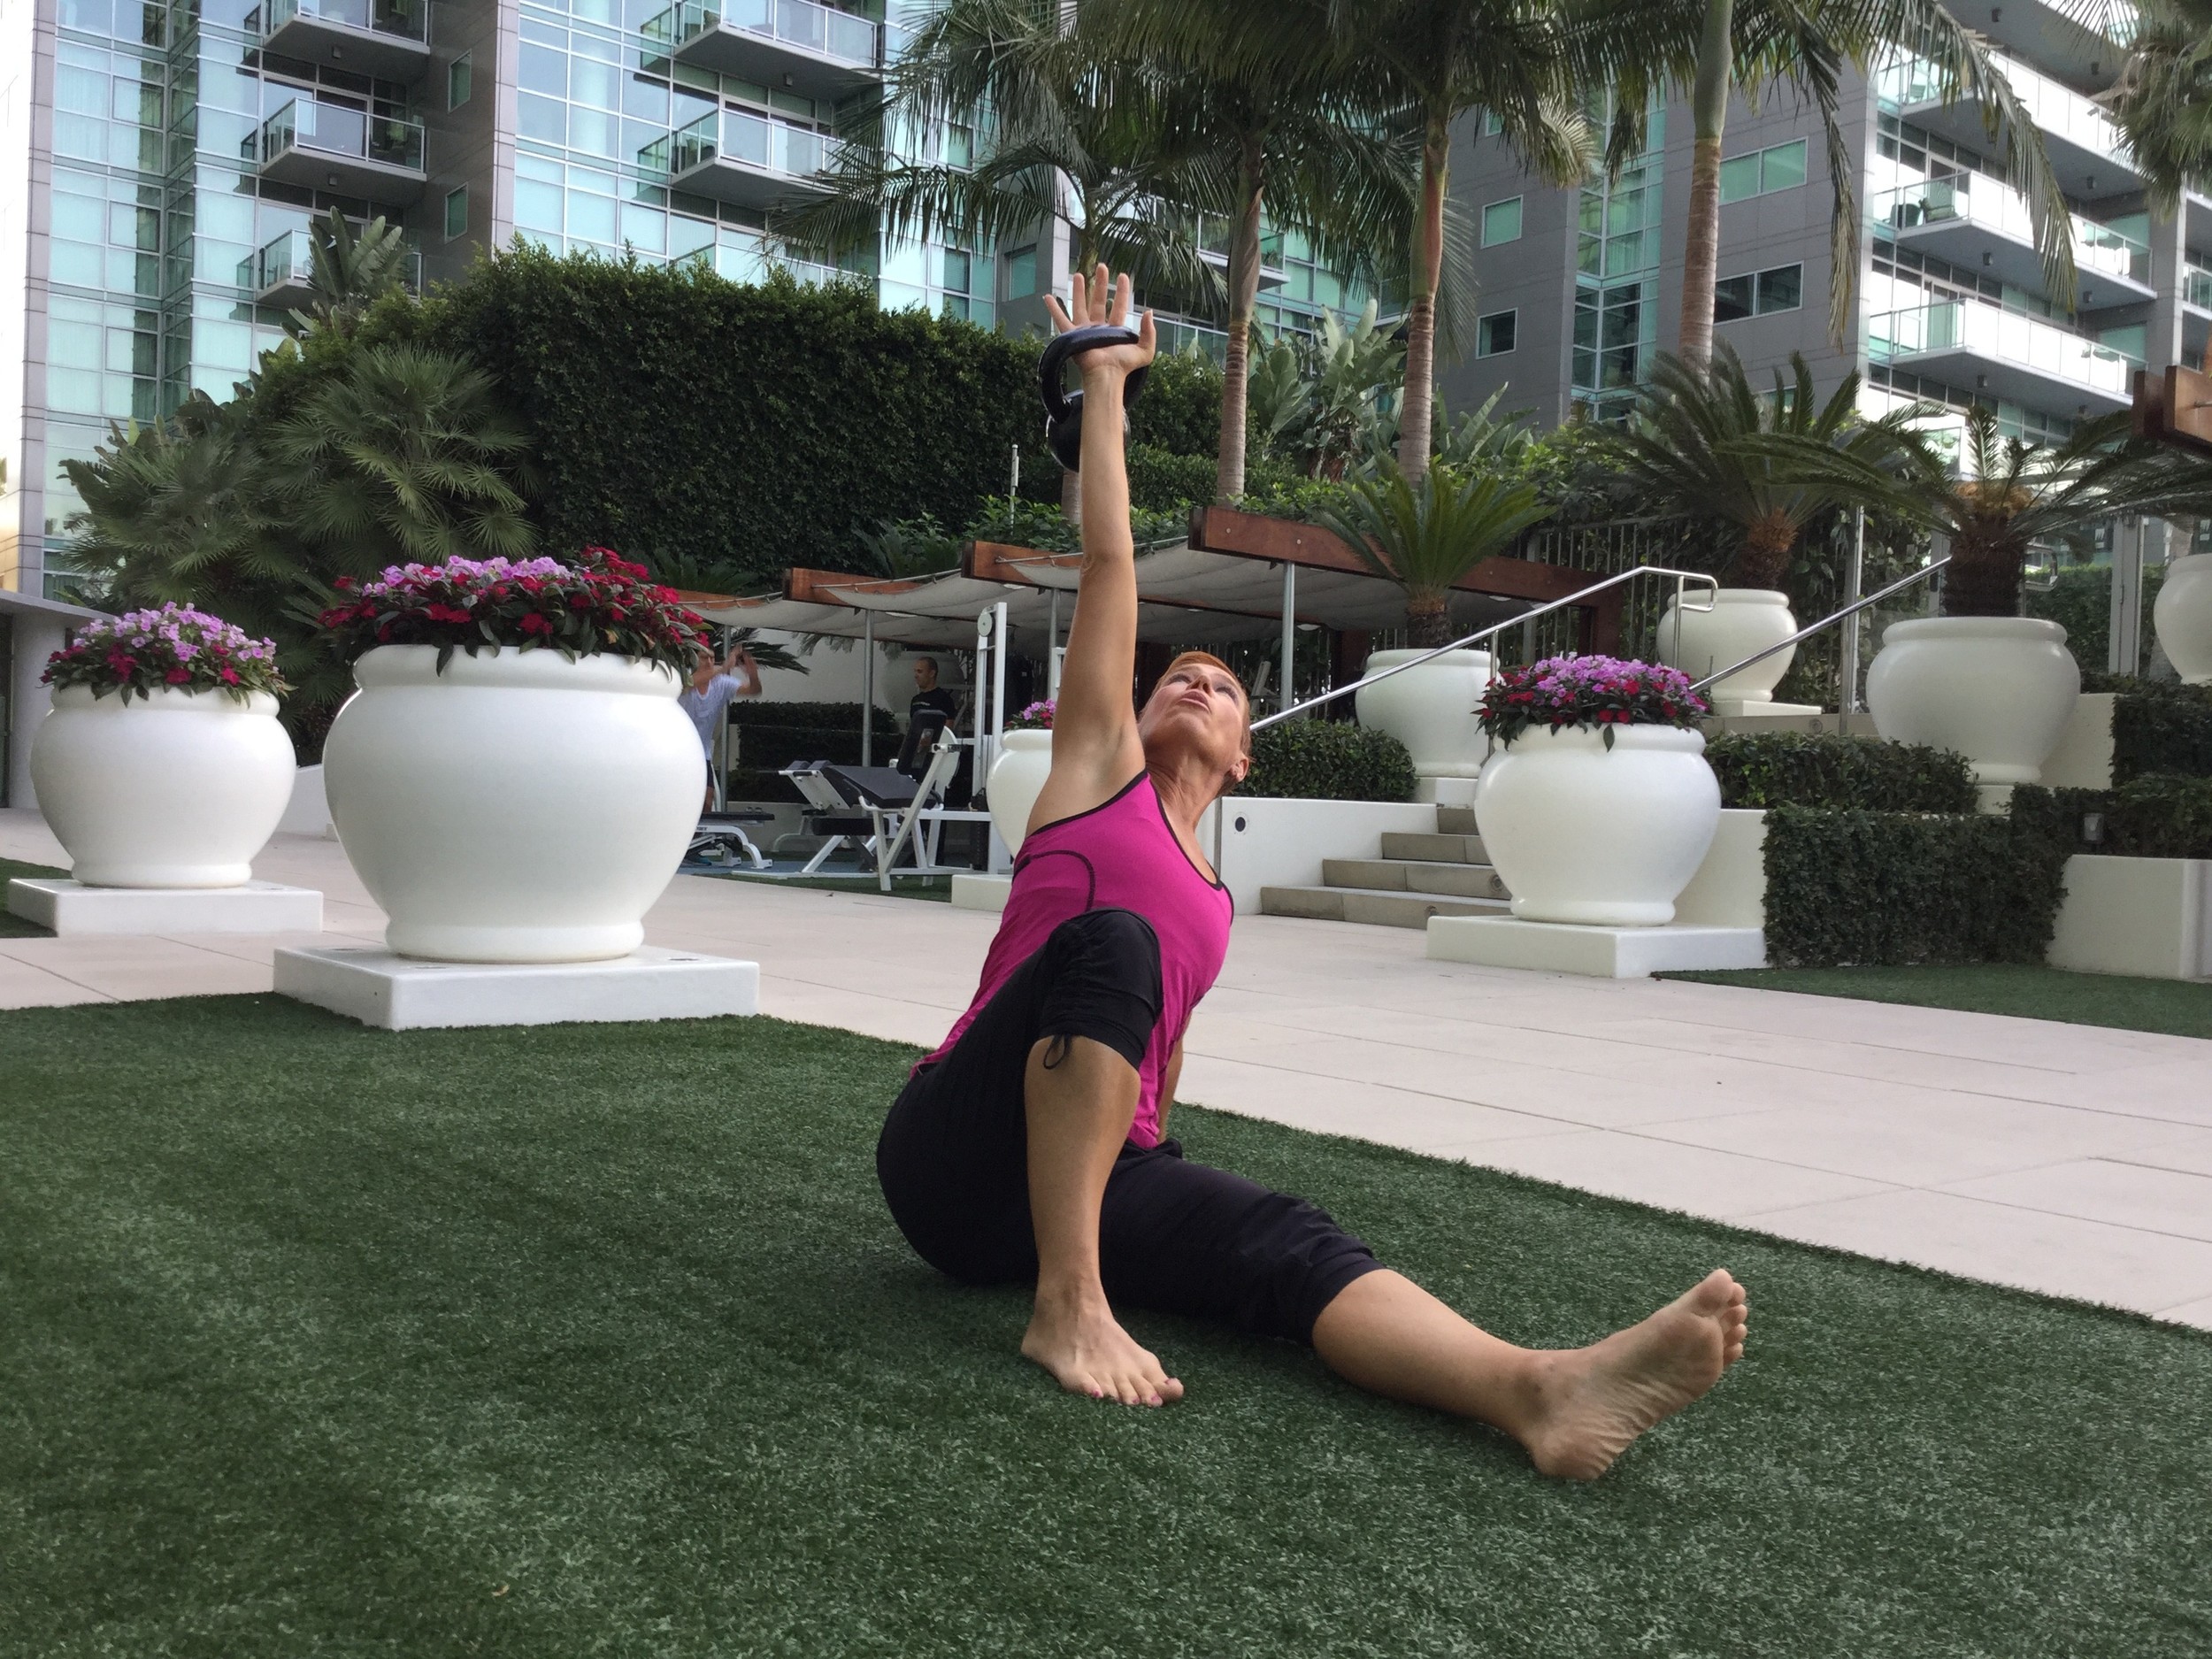
Roll onto side of L foot as you drive your hips up (think glute bridge with one leg straight and one leg bent).
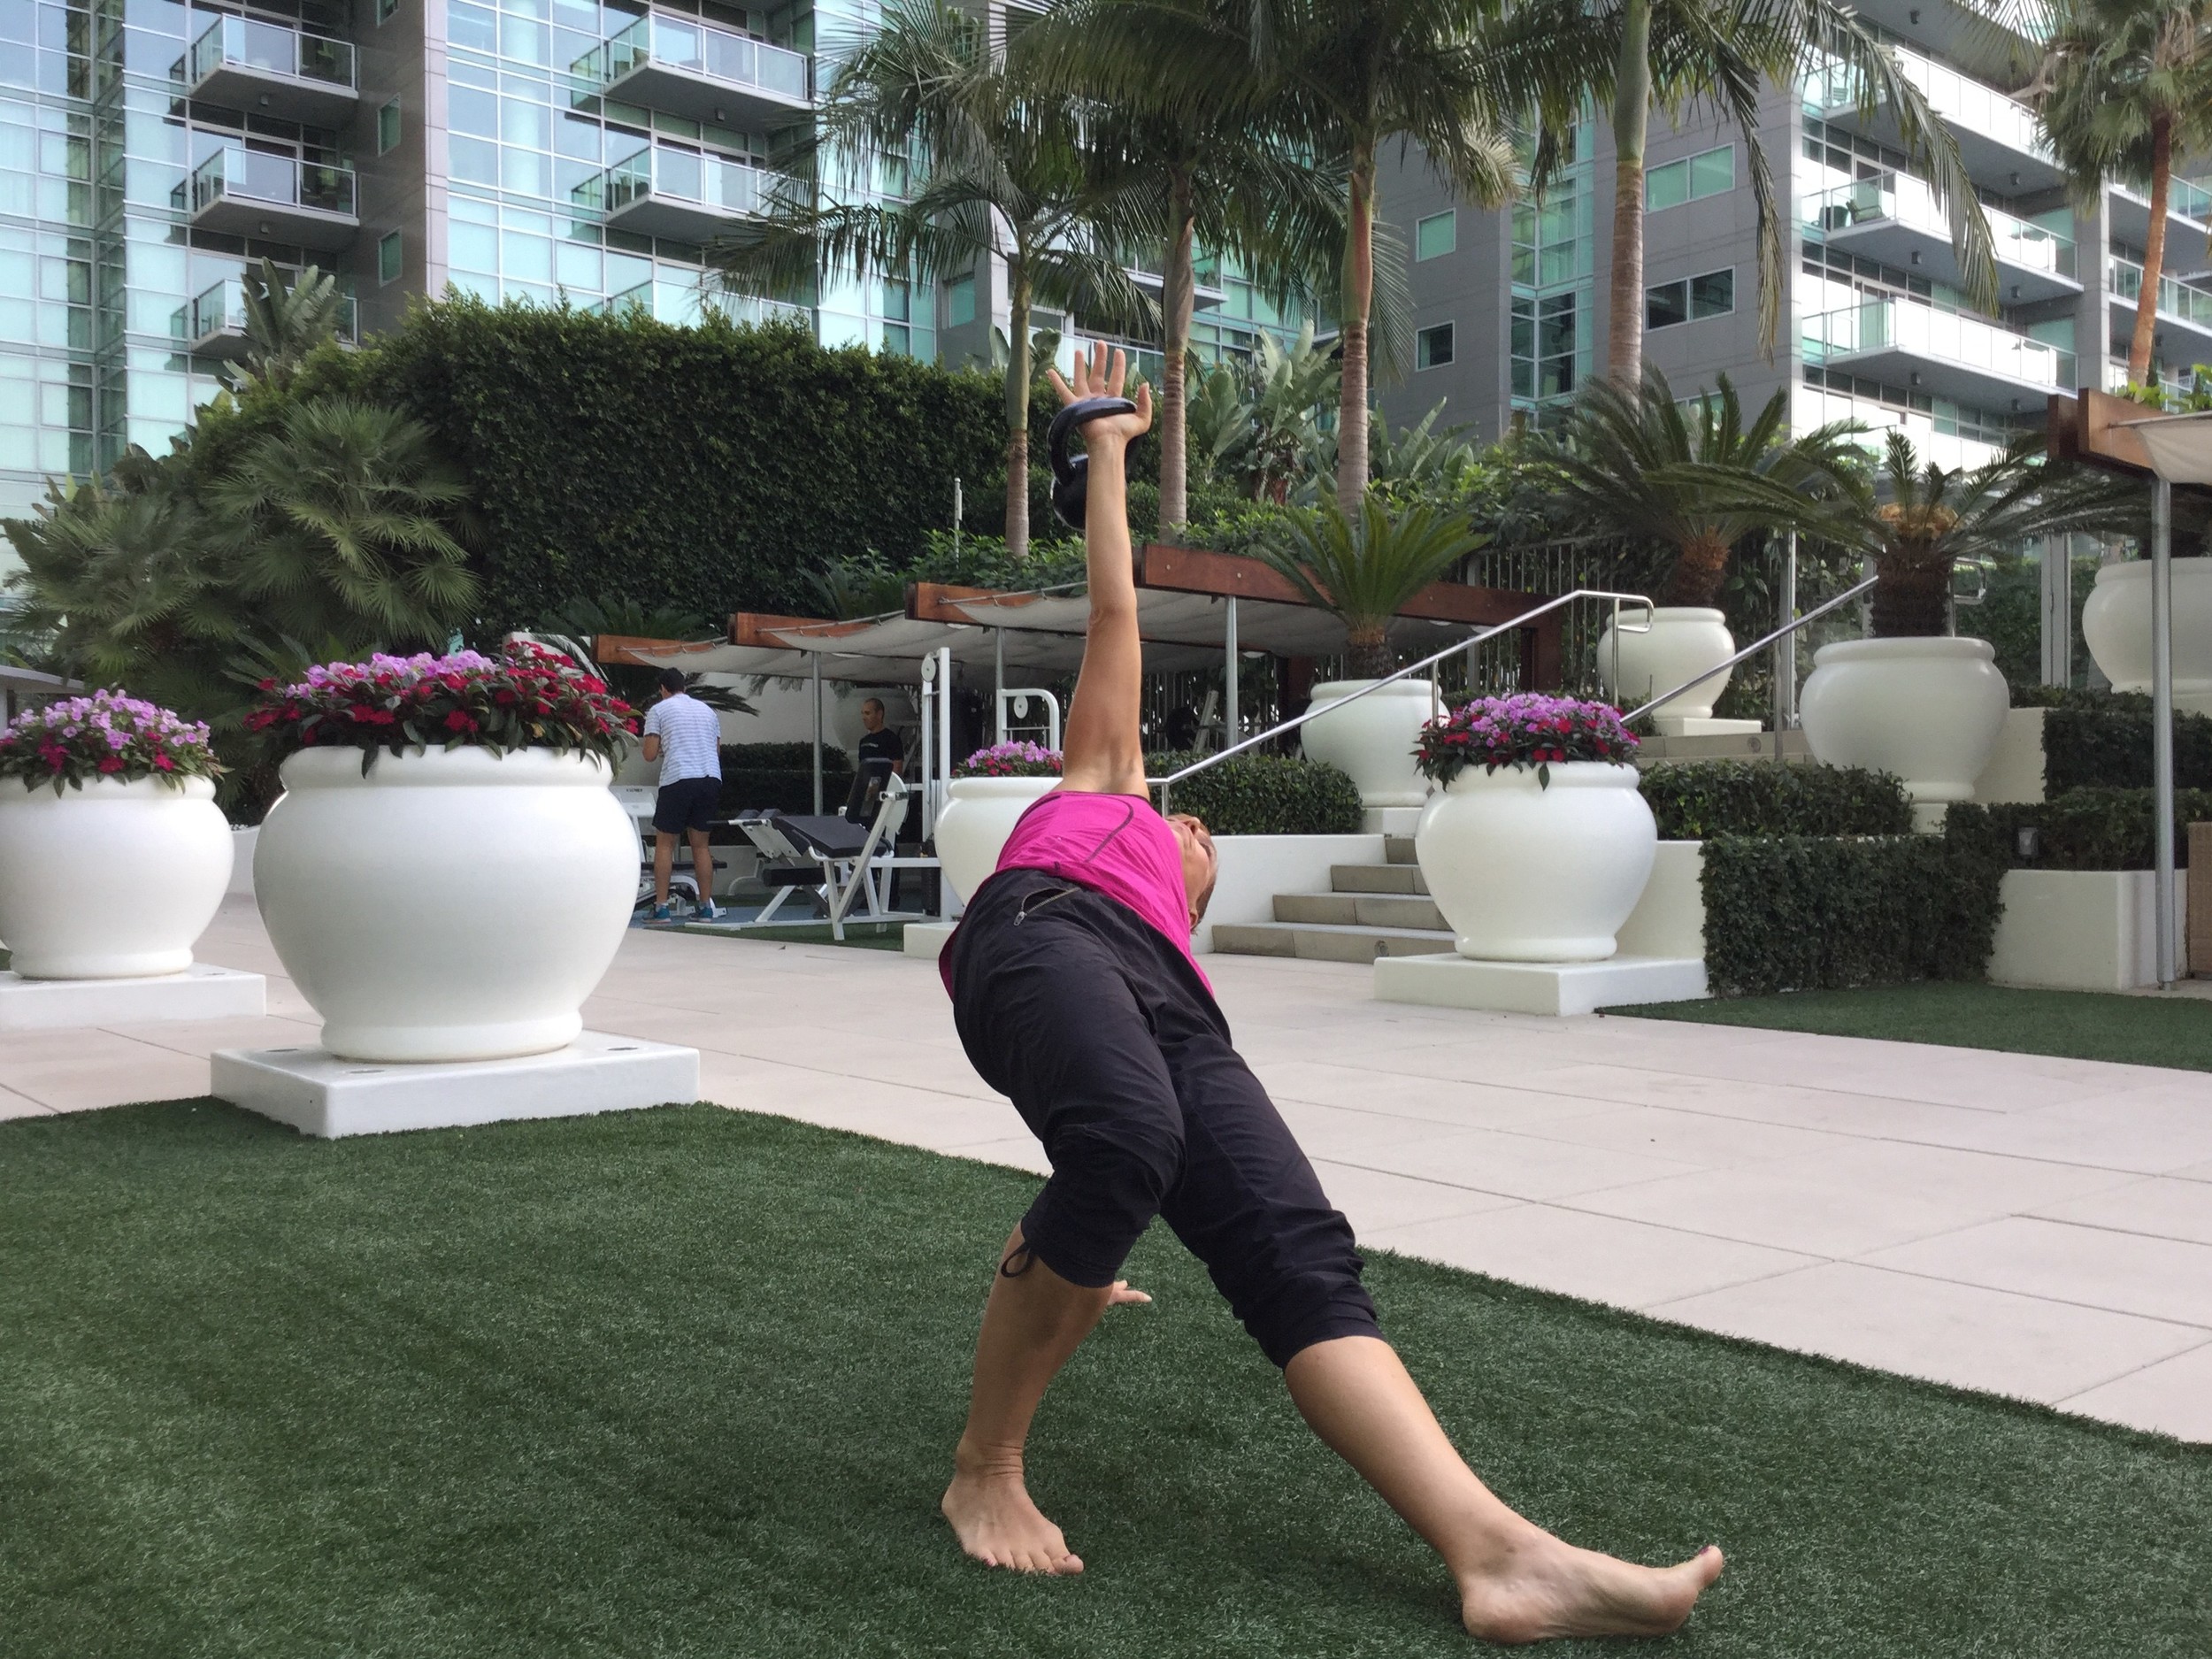
This is one of the harder steps, swinging the L leg behind you to prepare yourself for a lunge set up. Keep the R arms straight over the shoulder, forming a T between the two arms. Keep your hips high and swing your left leg behind you.

Use your L arm to push off the ground, shift your L foot a bit so that your hips are facing forward. You are essentially in a lunge position with your L knee on the ground and L toes tucked under you. Keep that R arm straight up over the shoulder. Make sure your hips are squared off before you lunge up.

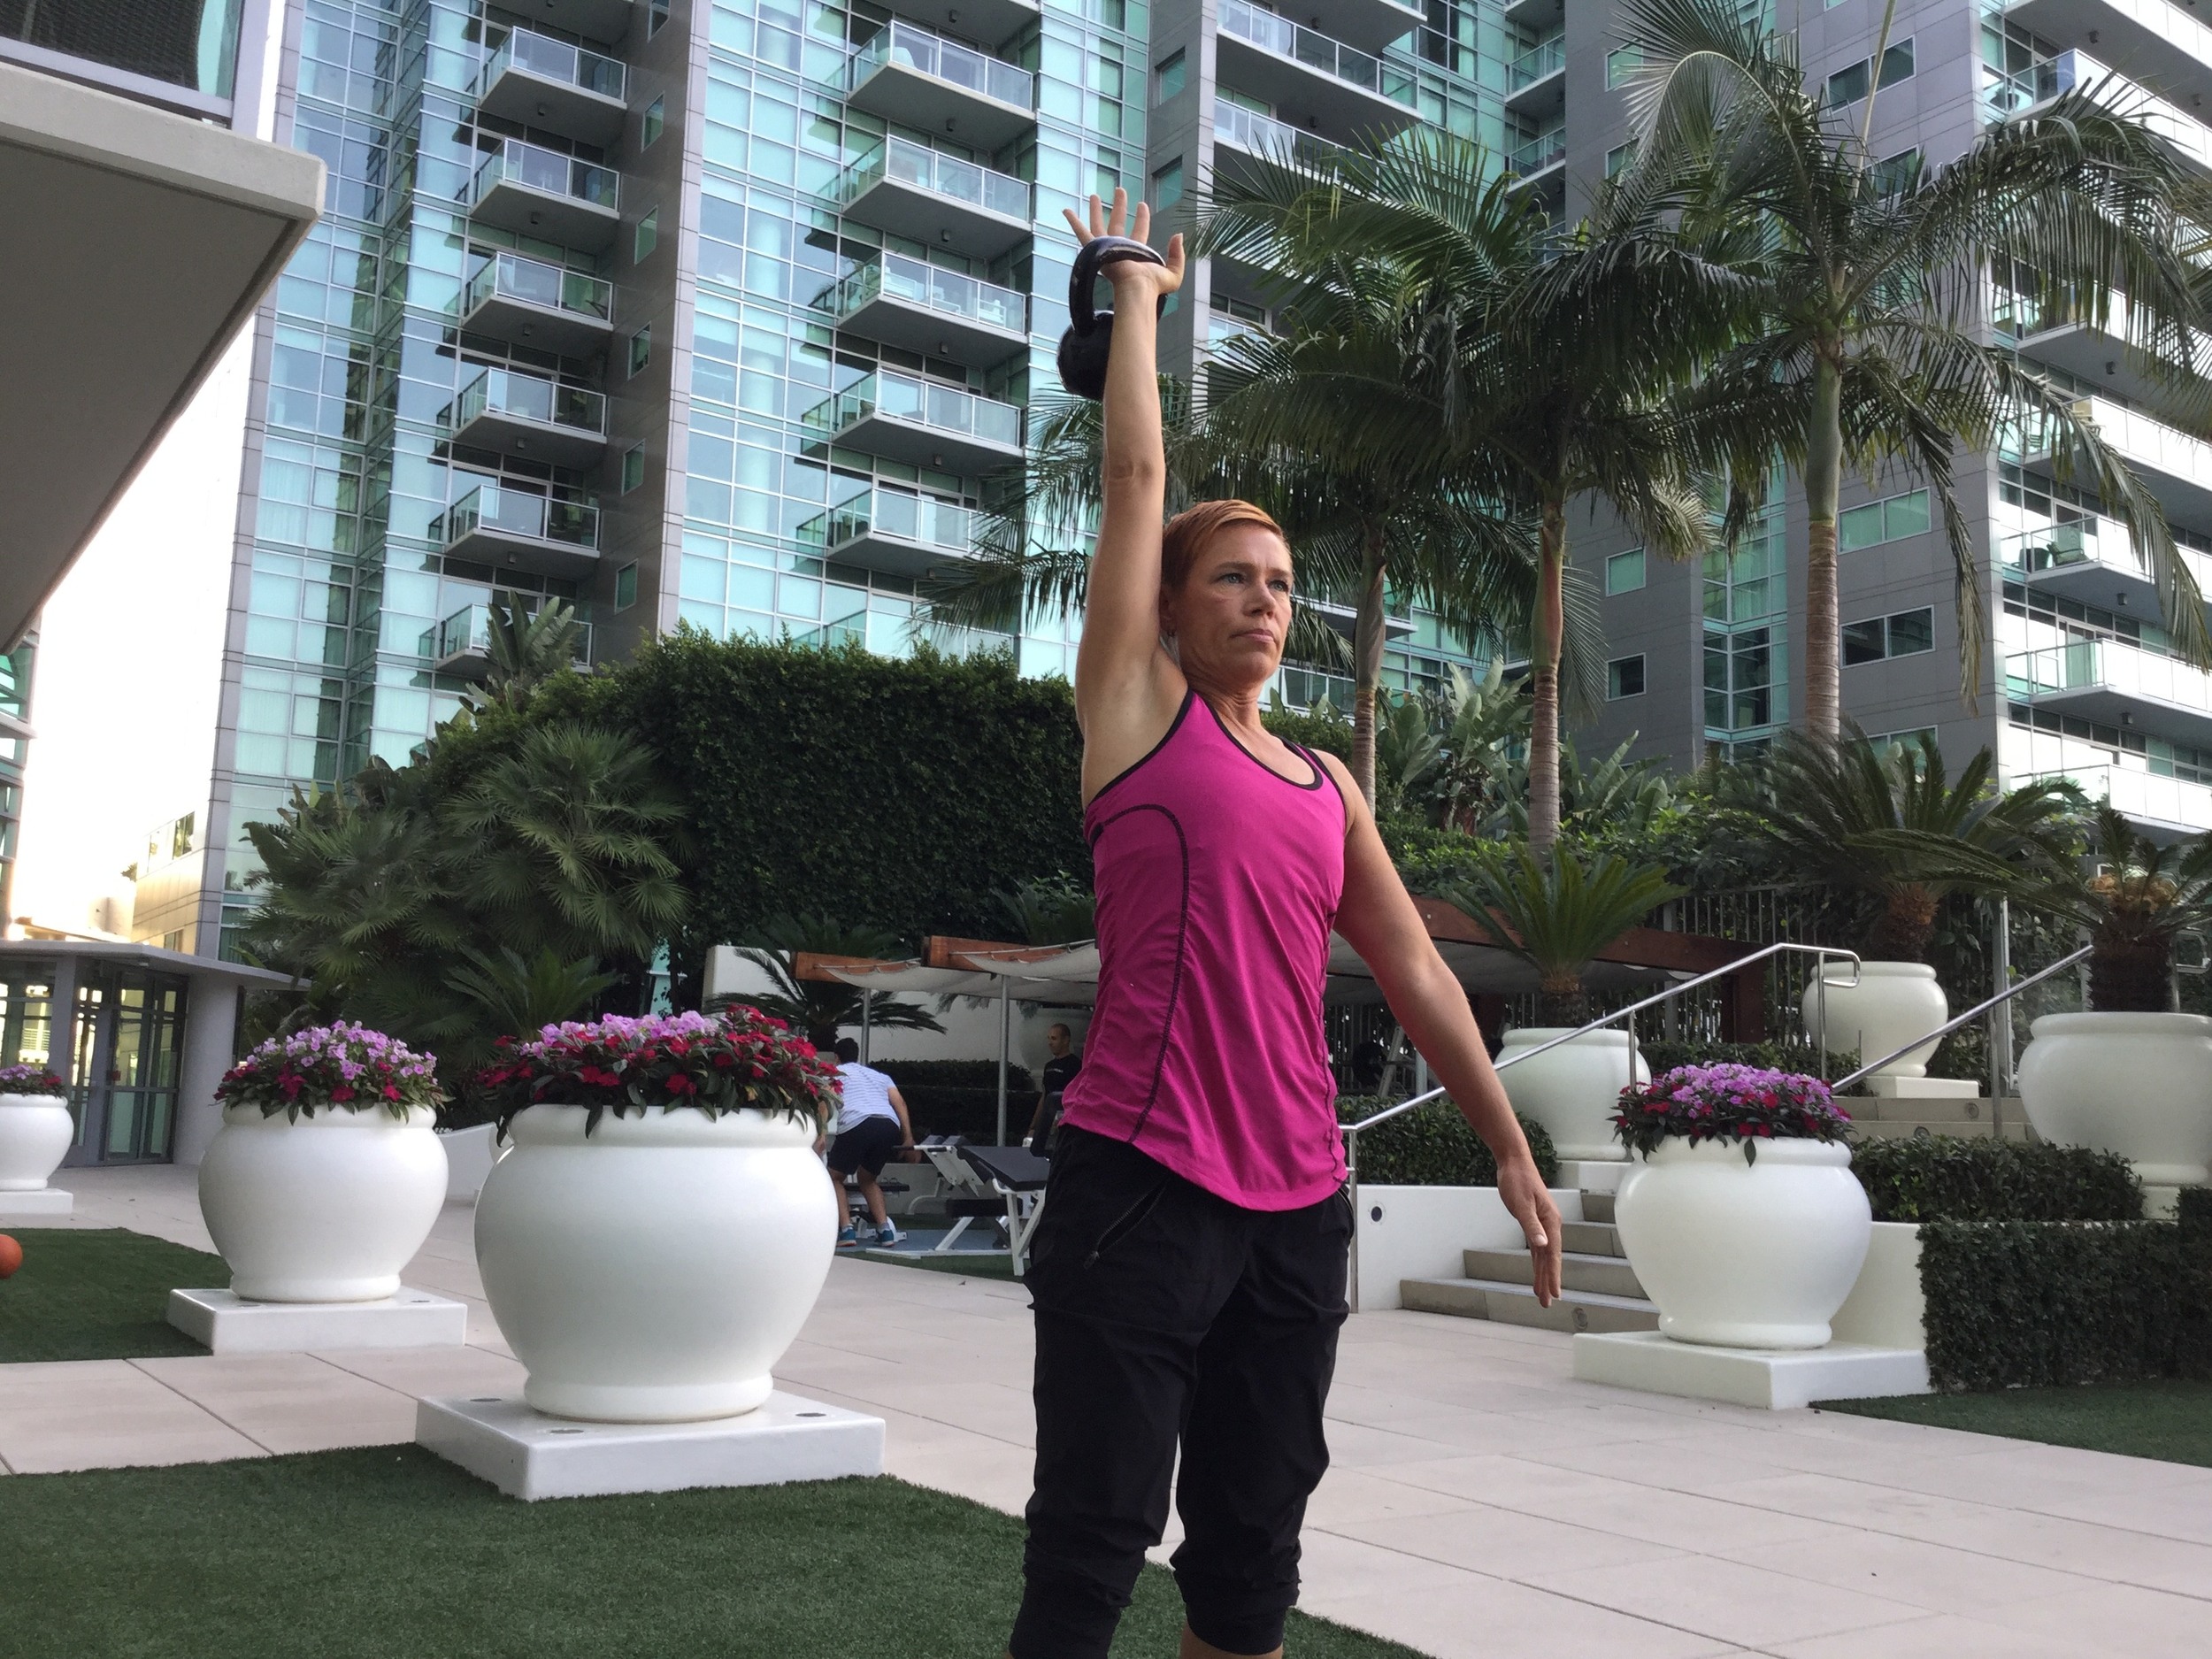
Lunge up to standing with feet together. You made it!! Now it’s time to Get Down.
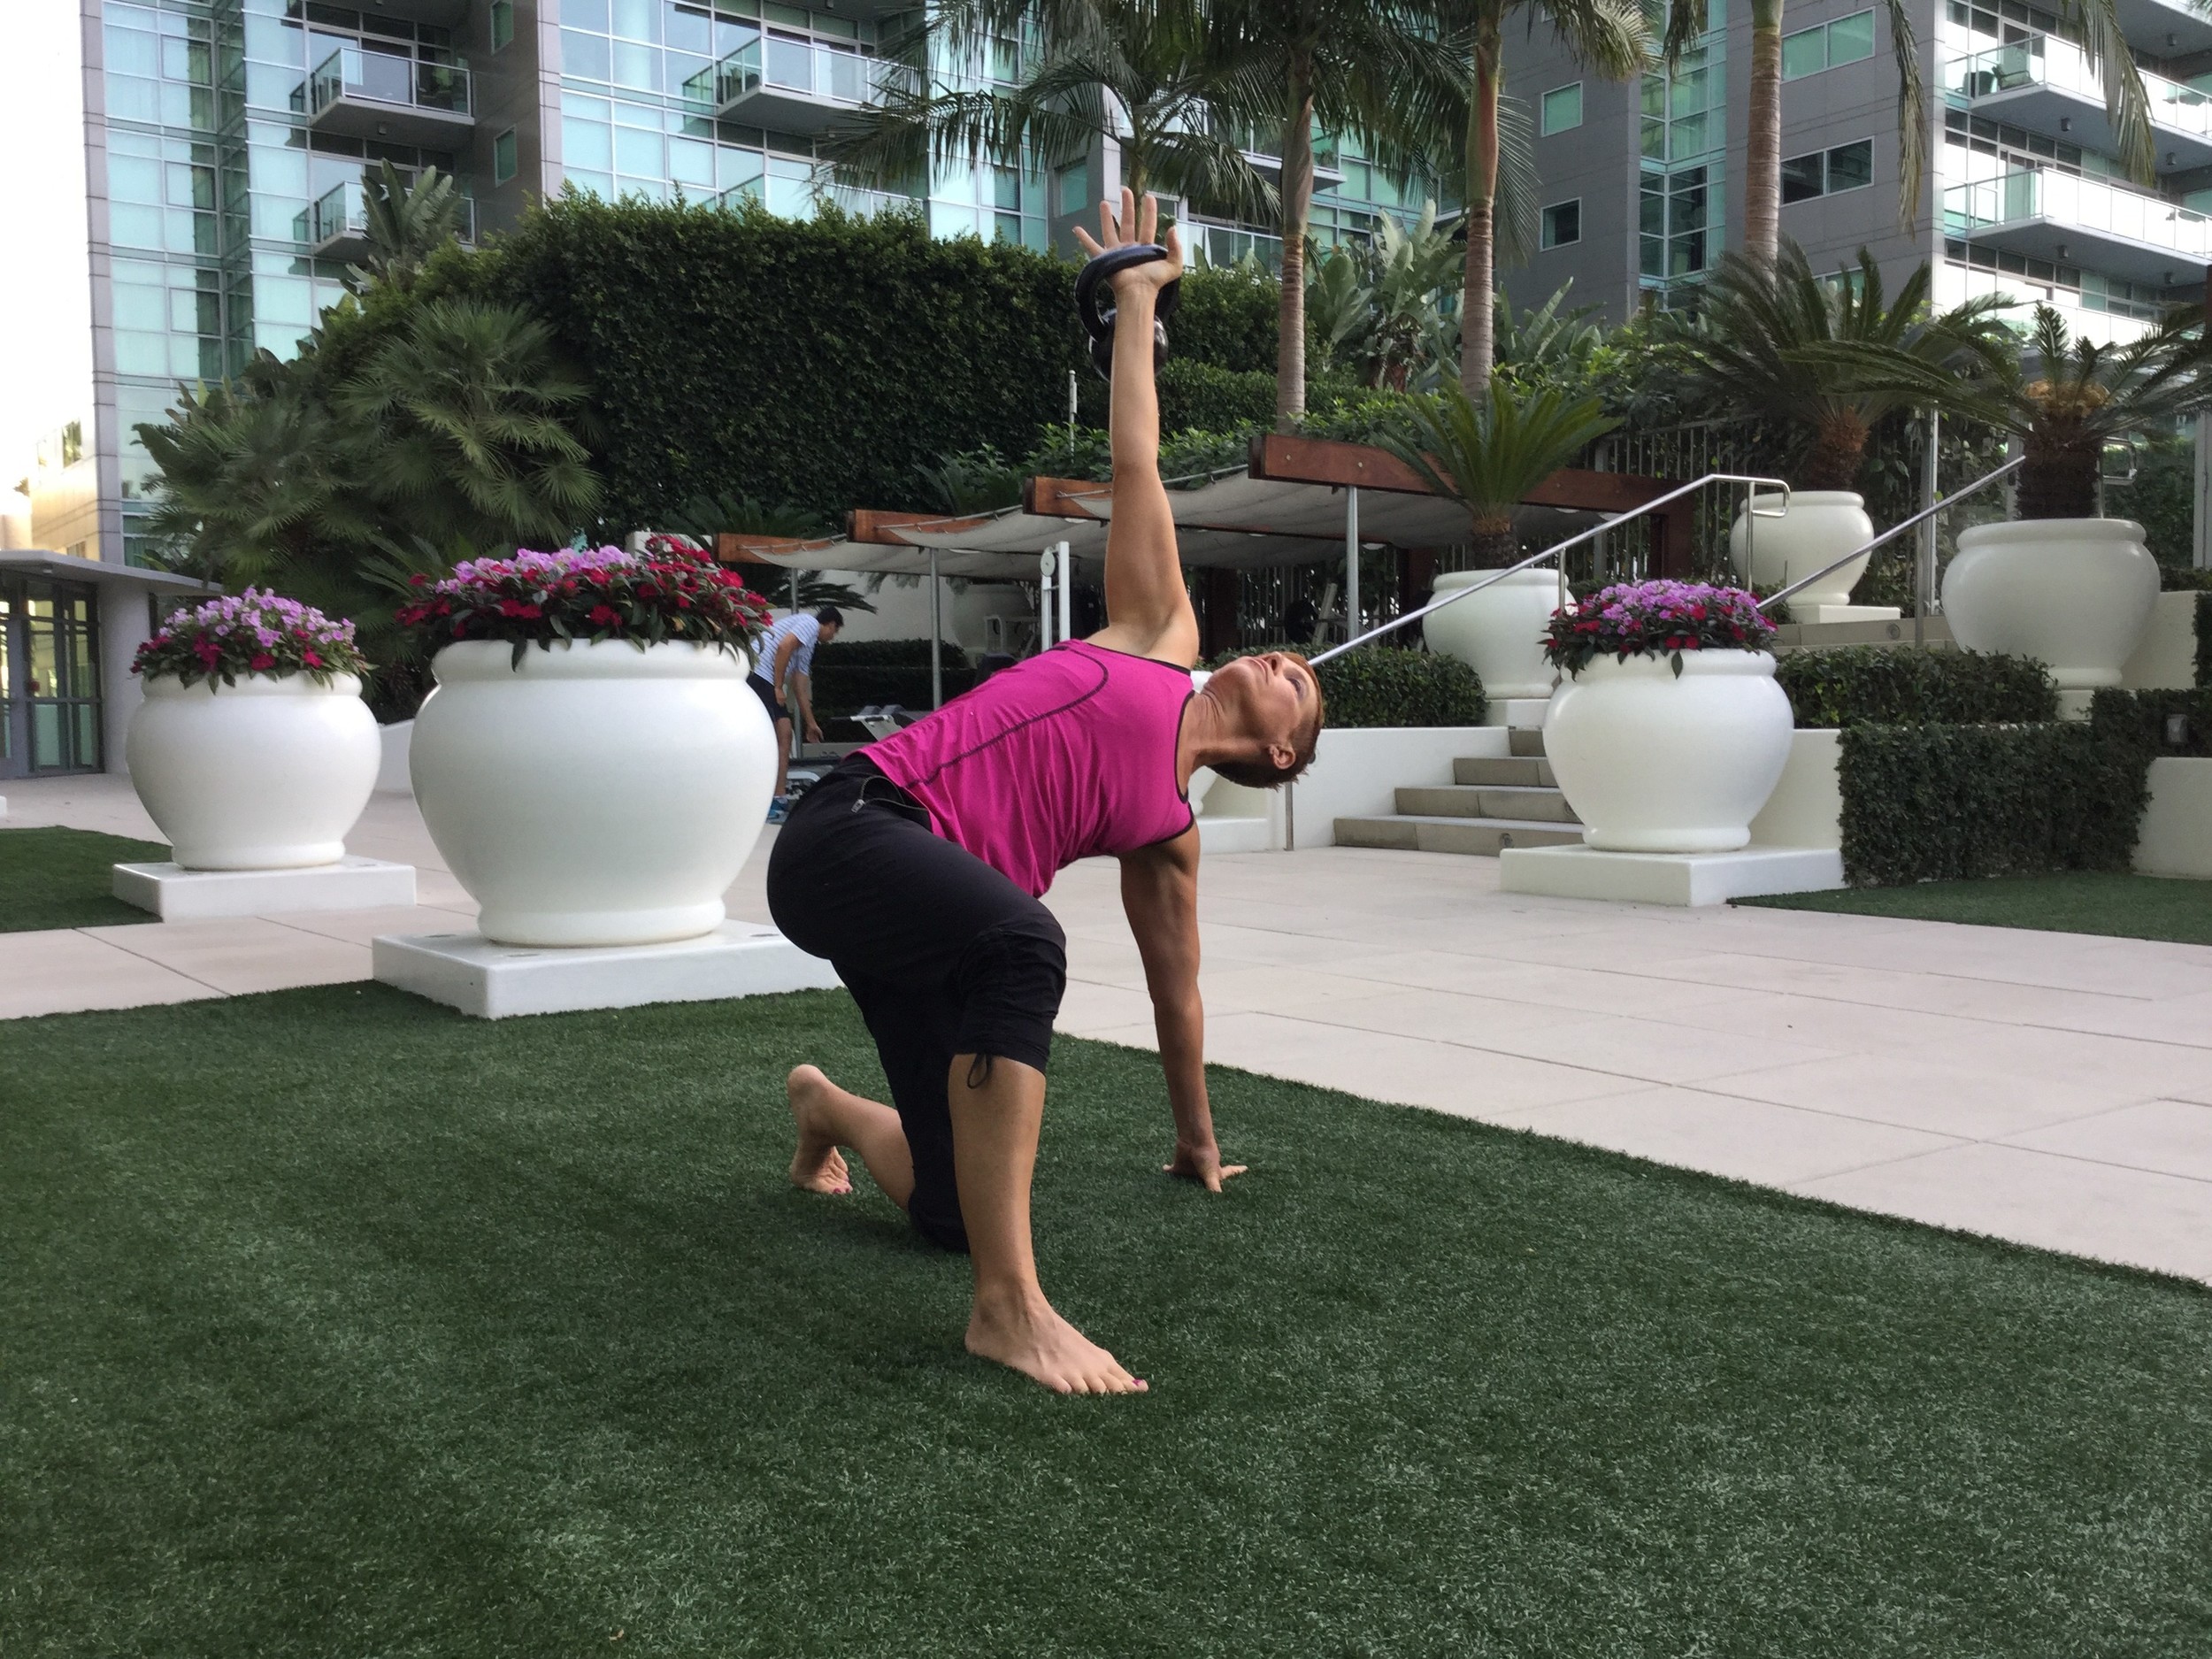
Step the L leg back into a lunge bringing the knee gently down to the ground. Make sure the knee is well behind the L hip.

Keep your eyes on the KB and plant your L hand on the ground forming a T again.
Keep maintaining that T, keep the hips up off the ground and swing the left leg underneath your body driving the heel into the ground using some of the side of your foot for support.

Lower your hips back down to the ground but keep your bodyweight a bit to the left with your L hand supporting you.

Use your abs to roll back down paying close attention to a straight arm and KB still over the shoulder.

Straighten legs and bring the KB back down to the ground.
If at anytime the arm bends or the hand starts to swing away from the shoulder, bring the weight back down to the shoulder and reset. Just to get the body positioning. I highly recommend performing quite a few Get Ups with no weight at all. Work on the maintaining the hand position and body position. When ready for weight, start with steps 1-3. Master each step before moving onto the next. Notice the different challenges you have depending on which side the weight is held. Progress by performing 5 complete Get Ups per side before adding weight. Take it slow, but once you have it down you can pick up the pace as a progression.
At what point in your workout should you perform the Get Up? I suggest either finishing with Get Ups if it was a light workout, or somewhere in the middle when you are thoroughly warmed up, but are not feeling terribly fatigued. Don’t go into your get ups if your shoulders are tired.
Send me an email carlaweier@compleatfitness.com with questions or a progress report.